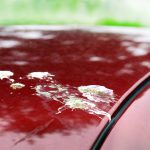
Ever noticed a strange red dust settle on your car (and everything else) in the summer months? This phenomenon is Saharan dust, and exactly as it sounds, it’s caused by uncommon weather patterns bringing sand over from the Sahara Desert.
When dealing with the residue on your car, be careful. The sand and dust are abrasive, so cleaning too vigorously can cause scratches and swirls to your paintwork.
You can remove the dust from your paintwork by following these seven simple steps:
- Step 1: Rinse with water
- Step 2: Use a snow foam spray
- Step 3: Hand wash with shampoo
- Step 4: Rinse
- Step 5: Dry with a microfibre towel
- Step 6: Apply wax
- Step 7: Clear air filters
In this blog, we’ll talk you through some of the best products for removing dust, and how to use them as well as providing more detail about each step.
Why do I need to remove the Saharan dust from my vehicle?
It’s important to remove Saharan dust from your paintwork as soon as possible. If left untreated, it can cause long-term damage, as Saharan dust is highly abrasive and may lead to fine scratches in the paint. Over time, this can result in costly paint repairs.
Your visibility can also be affected. The dust’s dark red-brown colour can create stubborn streaks across the windscreen, reducing clarity and causing your wipers to work less effectively, potentially compromising your safety on the road.

How to clean off Saharan dust without leaving scratches
Step 1: Rinse your car off
Begin by giving your car an initial rinse with water, either with a hose or a pressure washer such as the Halfords PW20 Pressure Washer, as this will take off any loose dirt and dust without the need for any contact.
Just be sure to aim the water down instead of up – this just means you aren’t forcing any dust or sand underneath your paintwork.
Step 2: Use a snow foam to capture sand
The key to avoiding scratches and swirl marks is to try and limit the contact wash stage as much as possible. Hand washing uses more pressure and is more likely to grind any dust or sand into your paintwork, so you’ll want to remove as much as possible before hand washing.
Snow foam is applied using a pressure washer (or you can use a handy garden hose attachment!) to create a blanket of foam over the surface of your car. These bubbles capture dirt like sand and dust to stop them from damaging your paintwork. The Halfords Advanced Snow Foam 2.5L is an excellent option.
This can then be rinsed off to remove grime trouble-free. Check out our snow foam buyer’s guide for more helpful tips on picking and using snow foam!

Step 3: Hand wash with a gentle car shampoo
Next, use a car shampoo specifically designed to be gentle on your car’s paintwork. (You should never use washing-up liquid or other household detergents to clean your car, as they can strip away protective wax layers and cause more damage.) Try using the Halfords Advanced Halfords Advanced Performance Shampoo 500ml as this pH neutral car shampoo is safe to use on both waxes and sealants, so it’s tough on dirt but kind to your car.
Mix the shampoo with water in a bucket to the correct ratio for your chosen product. For the best results, we’d recommend using a grit guard too, to trap any dust and sand you remove when you rinse your wash mitt and prevent it from being transferred back onto your car.
Most of the dirt should be towards the bottom of your car, so if you work from the top down, you’ll avoid dragging coarse sand particles over the cleaner areas. Just be sure to rinse your mitt often to get rid of any trapped sand or dust.
Step 4: Rinse thoroughly
Once you’ve finished hand washing, rinse off again with your hose or pressure washer to remove any lasting shampoo residue. A thorough final rinse will help to make the drying stage a lot easier and reduce the chance of any marks.
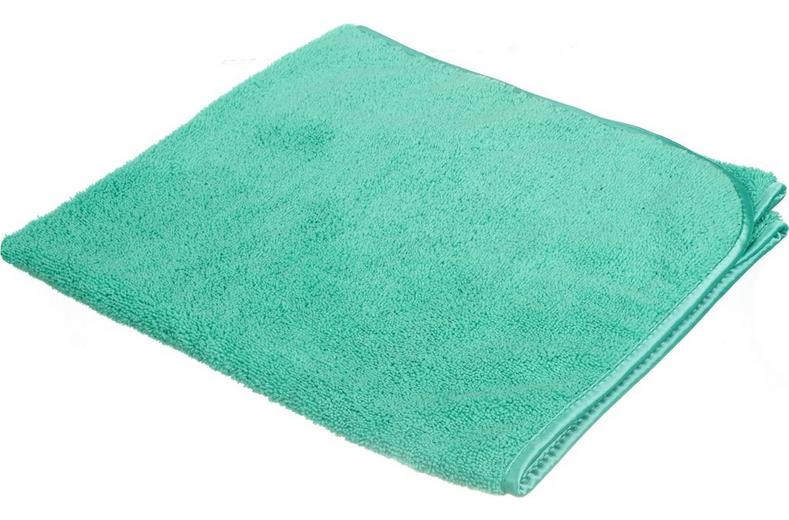
Step 5: Dry with a microfibre towel
Use a clean, dry microfibre towel to dry off the surfaces of your car. Microfibre is highly absorbent and gentle on the paint, helping to reduce the risk of any scratching.
Even better, you can pat the surface rather than rubbing it to further avoid any abrasions from remaining dust and sand particles.
Step 6: Apply a protective wax
After drying, apply a coat of high-quality car wax for a lasting protective finish.
Applying wax protects your car’s paintwork long-term and makes it harder for dust and other contaminants to stick to the surface.
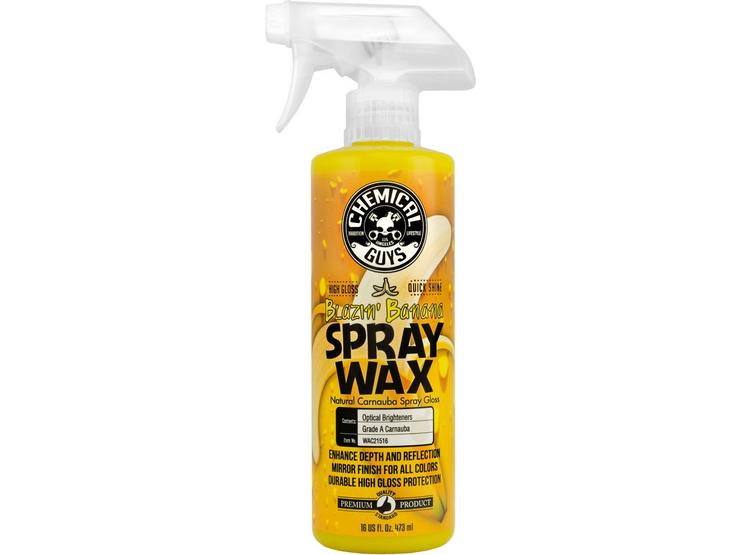
Top tip: Look for a wax with Carnauba in it. Carnauba wax is the toughest and has a high melting point, making it perfect for depositing a high-gloss, protective shine.
We have a range of car waxes available, from fluids to solid waxes, so you can find the right formula for you. A favourite of ours for a fruity boost is the Chemical Guys Blazin’ Banana Carnauba Spray Wax.
Step 7: Clean your air filters
A final step you might not think about is to clean or replace your car’s air filters – both the engine and the cabin. Saharan dust can clog up your filters, affecting your car’s performance. So, regularly checking, cleaning out, and replacing filters will help to keep your engine running smoothly and the air inside your car clean.
Halfords Motoring Club
By joining the Halfords Motoring Club today, you’ll get access to a range of amazing benefits and discounts that are designed to keep you moving, keep you safe and keep you saving.
It’s free to join and you’ll receive money off your MOT, a free car health check, and a welcome voucher that can be spent on any Halfords product or service, including our range of windscreen wipers.
Or choose our Premium membership for a small monthly fee of £5.49 (£65.88 total) or £54 annually to unlock exclusive member pricing on all motoring products and services online and across our stores, garages, and Halfords Mobile Experts, as well as a variety of other benefits that will help you to keep moving for less.