There’s nothing more satisfying than having flawless, scratch-free bodywork on your pride and joy.
Our simple guide to Paint Correction with Royal Warranted Car Care gurus Autoglym will soon give you a shine that you can almost jump into.
Step 1 – The basics
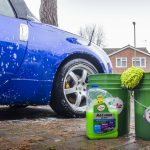
Before you start even thinking about any kind of polishes and waxes, you need to get the car perfectly clean. Ideally, you’ll be out of direct sunlight, on a moderate, dry day and with a mug of tea on hand.
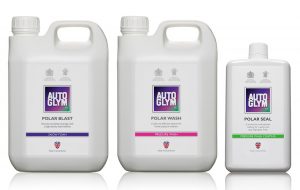
Autoglym’s Polar Range will quickly get the paint gleaming ready for the next step.
Don’t forget to treat the wheels and tyres to a good clean scrub and tyre dressing, though. And the interior will love you forever with a quick vac and dust up. We’ve got plenty of products to help you there too…
Step 2 – Preparation
Preparation is key as there’s simply no point in adding polishes or waxes over dirt or particles that are already there. If you’re not careful, these products can actually seal those onto the paint, and we don’t want that!
The first stage is to remove any fall-out, iron filings and tree sap off the bodywork.
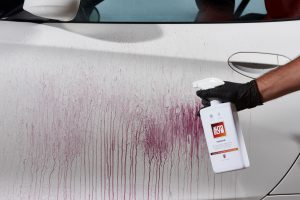
Autoglym Magma is a fun product that sprays all over the bodywork, turning bright red as it locates and neutralises microscopic iron particles that originate from your brakes and drivetrain, as well as road dirt and grime. As it works, it removes these particles and flows them in a liquid solution, ready to be hosed harmlessly away. You’ll be amazed at what’s there!
You’re then ready to use a Clay Bar to remove the rest. Tree sap and atmospheric fallout can sit on even the cleanest paintwork, making it feel slightly rough to the touch. After flattening it out, gently sliding the clay over the lubricating detailer that comes with the kit will quickly and easily remove all manner of surface nasties to leave the paint perfectly clean. Keep turning the clay to fold in the dirt, and boom! It will feel so smooth!
To remove those stubborn tar stains and tiny rubber particles that all cars pick up, especially in the summer, a gentle wipe in key areas with Autoglym Intensive Tar Remover makes those last tiny marks a distant memory.
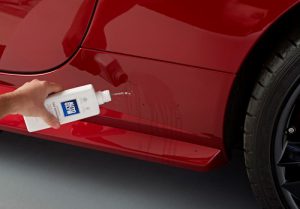
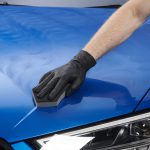
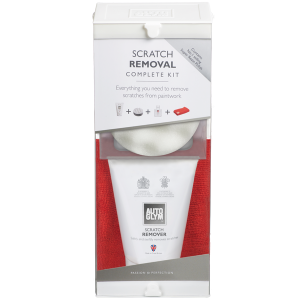
Scratch Removal is next. Using the Autoglym Scratch Removal Complete Kit to remove the tiny little marks from fingernails around door handles, light scuffs from shoes dragging across door sills and even light to moderate parking damage can all be consigned to the ‘never happened’ pile with this wonderful kit.
Step 3 – Revitalising your paintwork
After washing your vehicle’s paintwork again you will find yourself on the home straight.
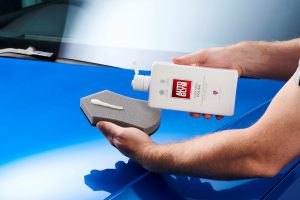
Use the fabled Autoglym Super Resin Polish will really start to make the paint shine now, not only removing any fine scratches, but actually helping to fill any imperfections to give you that perfect, deep uniform shine that we spoke about earlier.
Step 4 – Protecting your hard work!
Although it’s tempting to stand back and admire your handiwork we now need to lock in that perfect finish.
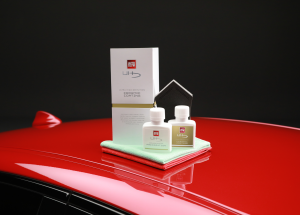
There are many Autoglym waxes and protectants to choose from, but the New Autoglym Ultra High Definition Ceramic Coating is the most durable paint protection product we have ever had. Offering a semi-permanent ceramic coating refined to a degree of unrivalled depth of gloss, you’re not only adding EVEN MORE SHINE to what you’ve already achieved, but you’re effectively sealing in all of those hours of graft!
And that’s it. Use these products and follow the steps to give yourself the kind of paintwork that will get everyone in your road wondering whether you’ve just bought a new car.
Time for a celebratory cruise around the block, we think!